
 Jenkins Documentation
About scripting and templating your jobs
Over a period of time, the creation and maintenance of hundreds of Jenkins jobs can become a burden. The Job DSL plugin allows for jobs to be scripted and templated, allowing entire pipelines to be defined within code rather than manually. In addition, once pipelines are defined in code, you can backup and version control your job configurations.
This is a tutorial for building Jenkins job pipelines using the Jenkins Job DSL plugin. This tutorial will offer a brief overview of the Job DSL plugin and walks you through creating a new Jenkins seed job, templating the creation of additional pipeline jobs, and storing job configurations in a version control system.
The tutorial assumes that you have a working Jenkins for DC/OS installation that includes Job DSL.
The seed job
A “seed job” is an initial Jenkins job template that is used to build additional jobs. The seed job is a standard “free-style” job, meaning it includes all the standard benefits of any Jenkins job: history, logs, emails, etc.
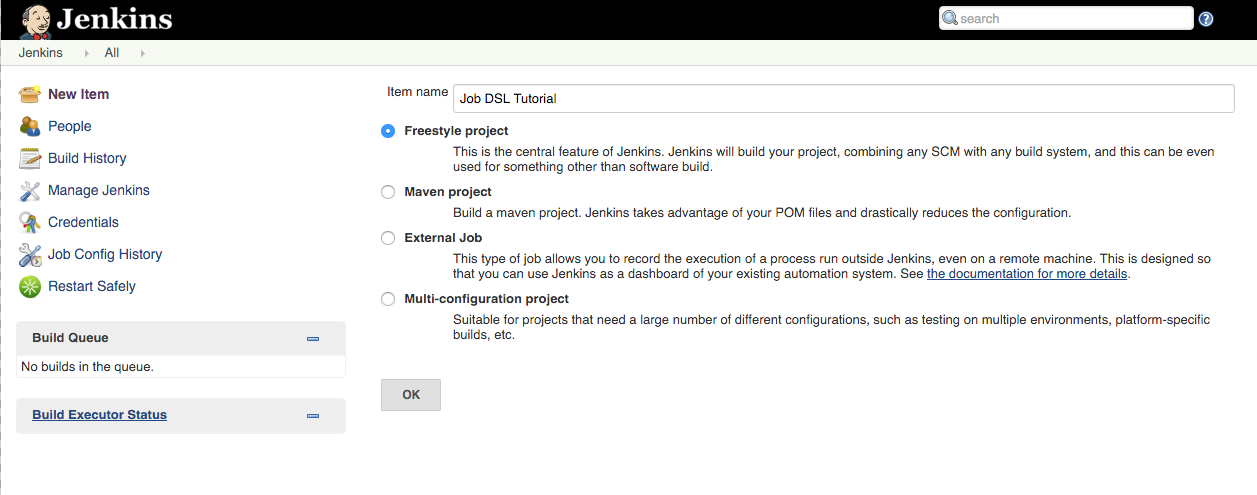
The first step is to manually create a seed job via the Jenkins UI. Click New Item, give your seed job a name (you’re using Job DSL Tutorial), select Freestyle project, and click OK.
Next, define which project repository to monitor, how often, and the steps associated with testing the project.
For this tutorial, we’ll be checking the mesosphere/jenkins-mesos repository every 15 minutes and running a simple directory listing (ls -l) of the repository.
Scroll down to the “Build” section, click “Add build step”, and select “Process Job DSLs” from the dropdown list. For this build step, select “Use the provided DSL script” and paste the following code into the provided text box.
def owner = 'mesosphere'
def project = 'jenkins-mesos'
def jobName = "${owner}-${project}".replaceAll('/','-')
job(jobName) {
  scm {
      git {
          remote {
            github("${owner}/${project}")
          }
          createTag(false)
      }
  }
  triggers {
      scm('*/15 * * * *')
  }
  steps {
      shell('ls -l')
  }
}
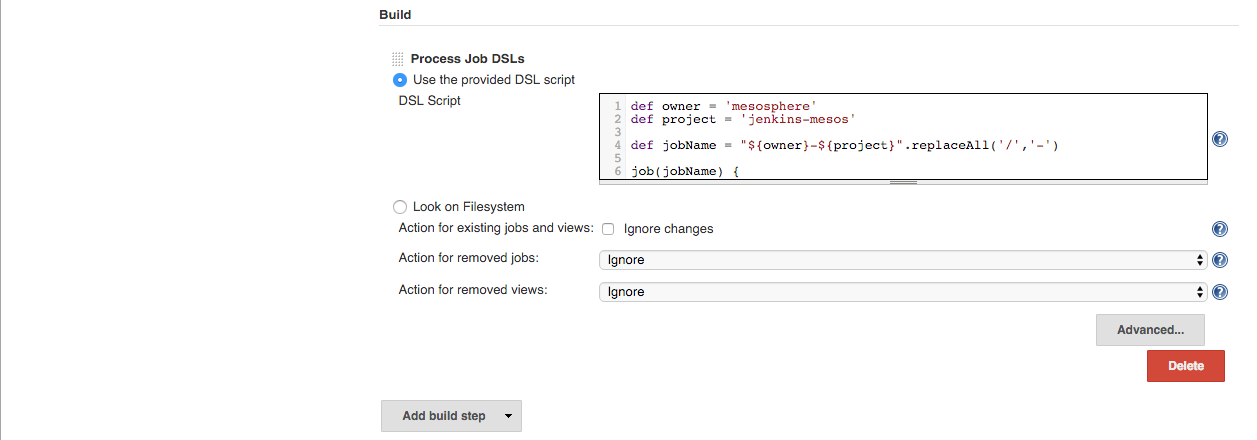
Note: Rather than pasting inline, you can also version control your Job DSL scripts in a Git repository. To do so, have the seed job clone the Git repository and use the Look on Filesystem option to process one or more of the Job DSL scripts within the build’s workspace.
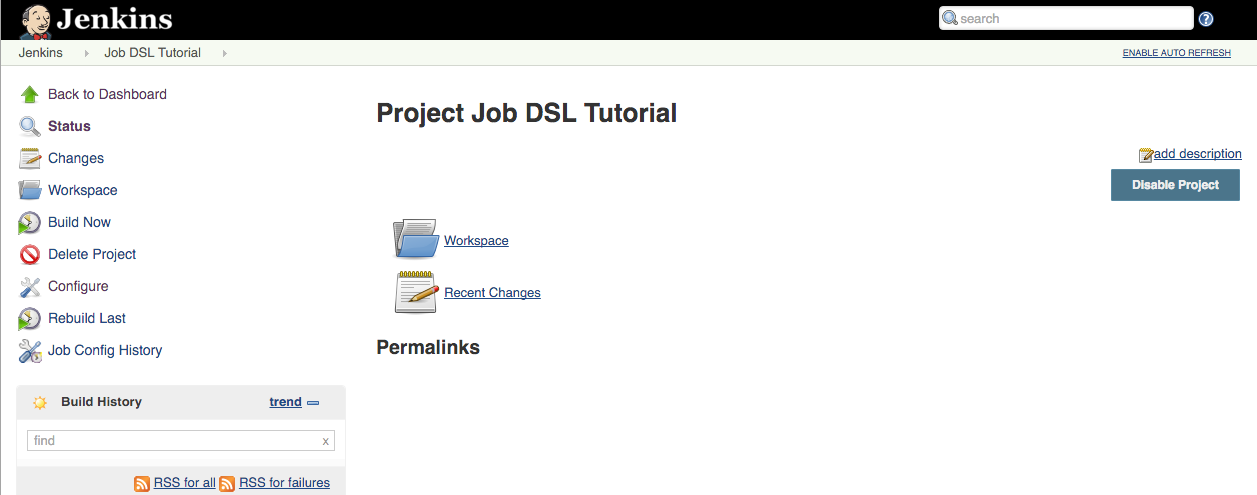
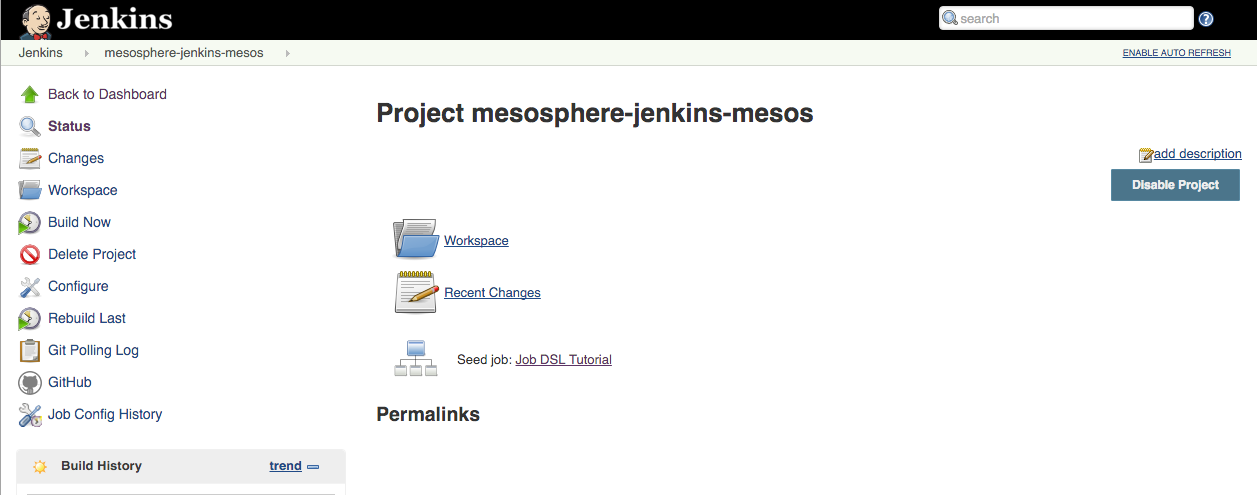
Click Save and you’ll be presented with an overview of the seed job you’ve just created.
Click Build Now on the seed job. A new Generated Jobs folder will appear in the overview containing the job you’ve justed templated, mesosphere-jenkins-mesos.
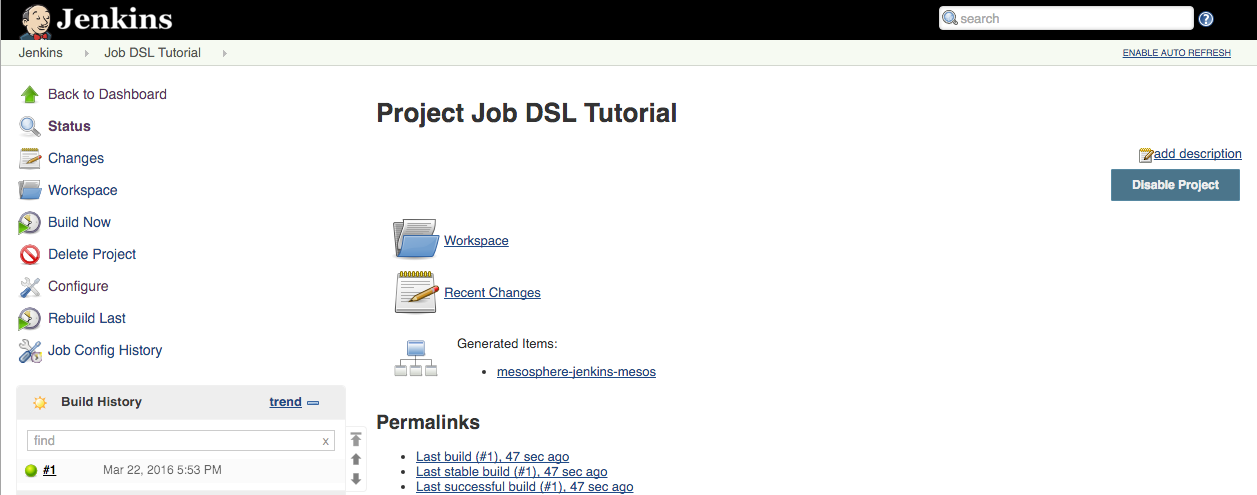
You can follow the link to the new job and see its relation to the seed job in the overview.
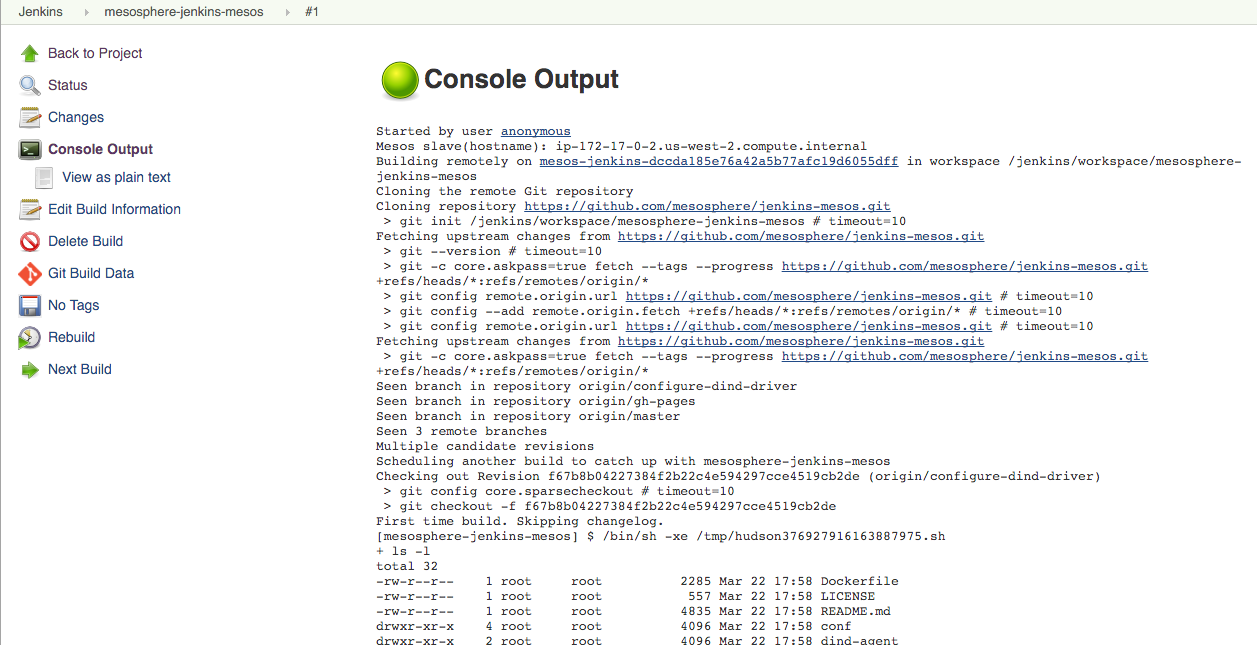
In the seed job, you configured the mesosphere-jenkins-mesos job to trigger every 15 minutes. Rather than wait for this trigger, let’s click Build Now to see the resulting console build log, which is a directory listing (ls -l) of the specified repository.
Extending the seed job
To show the power of the Job DSL let’s extend the functionality of the seed job to monitor all branches of our target repository (mesosphere/jenkins-mesos).
Go back to the Job DSL Tutorial seed job and click Configure. Modify the code in the Process Job DSLs text box to find all repository branches and iterate over each one:
def owner = 'mesosphere'
def project = 'jenkins-mesos'
def branchApi = new URL("https://api.github.com/repos/${owner}/${project}/branches")
def branches = new groovy.json.JsonSlurper().parse(branchApi.newReader())
branches.each {
  def branchName = it.name
  def jobName = "${owner}-${project}-${branchName}".replaceAll('/','-')
  job(jobName) {
    scm {
        git {
            remote {
              github("${owner}/${project}")
            }
            branch("${branchName}")
            createTag(false)
        }
    }
    triggers {
        scm('*/15 * * * *')
    }
    steps {
        shell('ls -l')
    }
  }
}
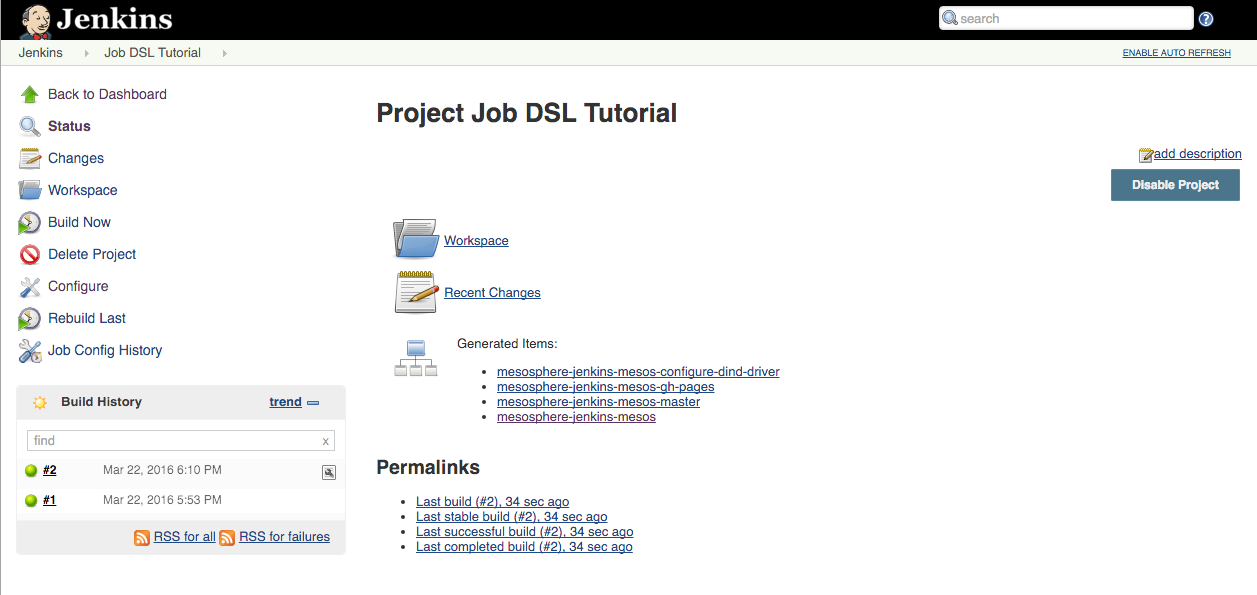
Click Save button, then Build Now. You should see three new Generated Items, one for each existing branch of the mesosphere/jenkins-mesos repository.
Further reading
That’s it! While this tutorial is meant to show the simplest workflow possible using seed jobs, the Job DSL provides the full power of the Groovy scripting language. See the following links for more information: