
 DC/OS Documentation
If you’re new to Ansible and/or want to deploy DC/OS using Ansible quickly and effortlessly - please follow this guide. We’ll walk you through step-by-step on how to:
- Download DC/OS Ansible Content
- Configure Ansible for DC/OS
- Create a DC/OS cluster with Ansible
- Upgrade the cluster to a newer version of DC/OS
Prerequisites and Setup
-
You will need to have Ansible and Mazer 0.4 installed. See links for additional installation information. With Mac you can brew install and then use your version of pip to install mazer:
brew install ansible && pip install mazer==0.4.0Or, you can use pip to install Ansible and Mazer:
pip install ansible mazer==0.4.0For windows installation please refer to the Ansible documentation for more information on how to install ansible on windows, or you can SSH to the bootstrap host (see below) and deploy and run ansible from there.
-
A list of your cluster nodes configured with SSH access. You will need a minimum of 4 nodes (CentOS or RedHat), available with SSH connectivity via a user with root level privileges:
- 1 Bootstrap
- 1 Master
- 1 Private Agent
- 1 Public Agent
Please see the minimum system requirements and supported CentOS and Redhat Enterprise Linux (RHEL) versions for your nodes, especially when planning for production environments. For more information on setting up SSH connections for Ansible see the remote connections documentation. If you are installing DC/OS Enterprise Edition, you will also need an appropriate license key.
Downloading the Content
We maintain and host our DC/OS Ansible project on the Ansible Galaxy for easy consumption. Currently we, as well as RedHat, propose using the Mazer tool for downloading all the necessary content locally to your machine. For more information on the Mazer tool and how to configure it see the project docs here.
-
Issue the following command to download the content:
mazer install dcos.dcos_ansibleThis will install content in
~/.ansible/collections/ansible_collectionsby default. However, if you have an older version ofmazeror have a different content path set in yourmazer.yml, it will install there. You can issuemazer versionto find location your config file for mazer. -
In your content path, switch to the dcos_ansible roles.
cd ~/.ansible/collections/ansible_collections/dcos/dcos_ansible -
Mazer will download your roles by version in this directory, for example
dcos-ansible-0.51.0. Locate the version and switch directories to the desired version for the next steps:cd dcos-ansible-0.51.0
Configuring Ansible for your DC/OS cluster
Once you have downloaded the content locally, you can begin modifying it to fit your specific needs. You will need to configure the following files to get started:
- Inventory file (
inventory) - You will specify your which of your nodes will be used as bootstrap, master(s), private agent(s) or public agent(s). - Group Variables file (
/group_vars/all/dcos.yml) - This file is used to manage OS prereqs as well as how to install and configure DC/OS. - Ansible Config (
ansible.cfg) - How you prefer Ansible to run in your environment. Most likely defaults are good here except forremote_user.
You may use DC/OS Ansible to install both DC/OS and DC/OS Enterprise. Please follow the below instructions and adjust according to your variant where noted. Here, we will install version 1.13.0.
-
Within the
~/.ansible/collections/ansible_collections/dcos/dcos_ansible/dcos-ansible-X.X.Xdirectory, rename the inventory and group variables example files to new files:mv inventory.example inventory && \ mv group_vars/all/dcos.yaml.example group_vars/all/dcos.yml -
Open the
inventoryfile. List each of your corresponding node IPs, as mentioned in the prerequisites, under the desired groups for[bootstrap],[masters],[agents_private]and[agents_public]. If you are deploying on a public cloud, those are the external IPs of the nodes. -
In the variables file (
group_vars/all/dcos.yml), set the following values underdcosaccording to your variant:Enterprise
# ...
download: "https://downloads.mesosphere.com/dcos-enterprise/stable/1.13.0/dcos_generate_config.ee.sh"
# ...
Open Source
# ... download: "https://downloads.dcos.io/dcos/stable/1.13.0/dcos_generate_config.sh" version: "1.13.0" enterprise_dcos: false # ... -
Also in the variables file, set the following values under
config. Enterprise users add your license key here. (Optional: specify a special script for your environment inip_detect_contentsorip_detect_public_contentsyou can find the defaults here ip-detect ip-detect-public):# ... cluster_name: <your-cluster-name> # The Hostname or IP of you bootstrap node at port 8080 (If you are deploying on a public cloud, this is the private IPs of the node) bootstrap_url: <bootstrap-IP-or-hostname>:8080 # Change the value(s) list to the IP(s) of your master node(s) used in the [master] inventory group. (If you are deploying on a public cloud, those are the private IPs of the node) master_list: - IP1 - IP2 # Add and uncomment this line for enterprise; paste or pass in your license key here # license_key_contents: “YOUR_ENT_LICENSE_CONTENTS” # # This is an ip-detect script example which also stands for ip_detect_public_contents # more info about ip-detect can be found here: /mesosphere/dcos/2.1/installing/production/deploying-dcos/installation/#create-an-ip-detection-script # ip_detect_contents: | # #!/bin/sh # set -o nounset -o errexit # ip addr show dev eth1 primary | awk '/(inet .*\/)/ { print $2 }' | cut -d'/' -f1 -
(Optional) In
ansible.cfg, set the appropriateremote_userto the user that you will connect as on your nodes. The default is set tocentos.
Confirming your setup
To test that you have everything set up correctly, use the ping module and ensure connectivity to all of your nodes:
ansible -m ping all
Which should return:
bootstrap | SUCCESS => {
    "changed": false,
    "ping": "pong"
}
master | SUCCESS => {
    "changed": false,
    "ping": "pong"
}
private-agent | SUCCESS => {
    "changed": false,
    "ping": "pong"
}
public-agent | SUCCESS => {
    "changed": false,
    "ping": "pong"
}
Creating the DC/OS Cluster
We have provided a simple playbook to run the entire process of installing and managing DC/OS including all prerequisites based on your OS. The version of DC/OS that will be installed is based on the value you have configured in your variables file for download and version. The values are the most important to installing and upgrading your cluster.
To install DC/OS run the following command to execute the playbook.
ansible-playbook dcos.yml
Note: Prior to DC/OS Install you will be required to either press ENTER to continue with install or CTRL-C to cancel install.
TASK [DCOS.bootstrap : Double check the prefix/cluster name and version]
****************************************************************************************************************
[DCOS.bootstrap : Double check the prefix/cluster name and version]
Please double check the prefix/cluster name and version of this cluster:

  Cluster: dcosansible
  Version: 1.13.0 -> 1.13.0
  Commit:  None
  via:     http://downloads.mesosphere.com/dcos-enterprise/stable/1.13.0/dcos_generate_config.ee.sh

PRESS *ENTER* OR CANCEL NOW IF IT ISN'T CORRECT
When ansible is completed, you should see an output with no errors like below:
PLAY RECAP ****************************************************************************************************************
bootstrap                  : ok=24   changed=5    unreachable=0    failed=0
master                     : ok=24   changed=5    unreachable=0    failed=0
private_agent              : ok=24   changed=5    unreachable=0    failed=0
public_agent               : ok=24   changed=5    unreachable=0    failed=0
With very little effort we have created a DC/OS version running version 1.13.0. You can now access DC/OS via your master node(s) at: http://master-node-ip
Logging In
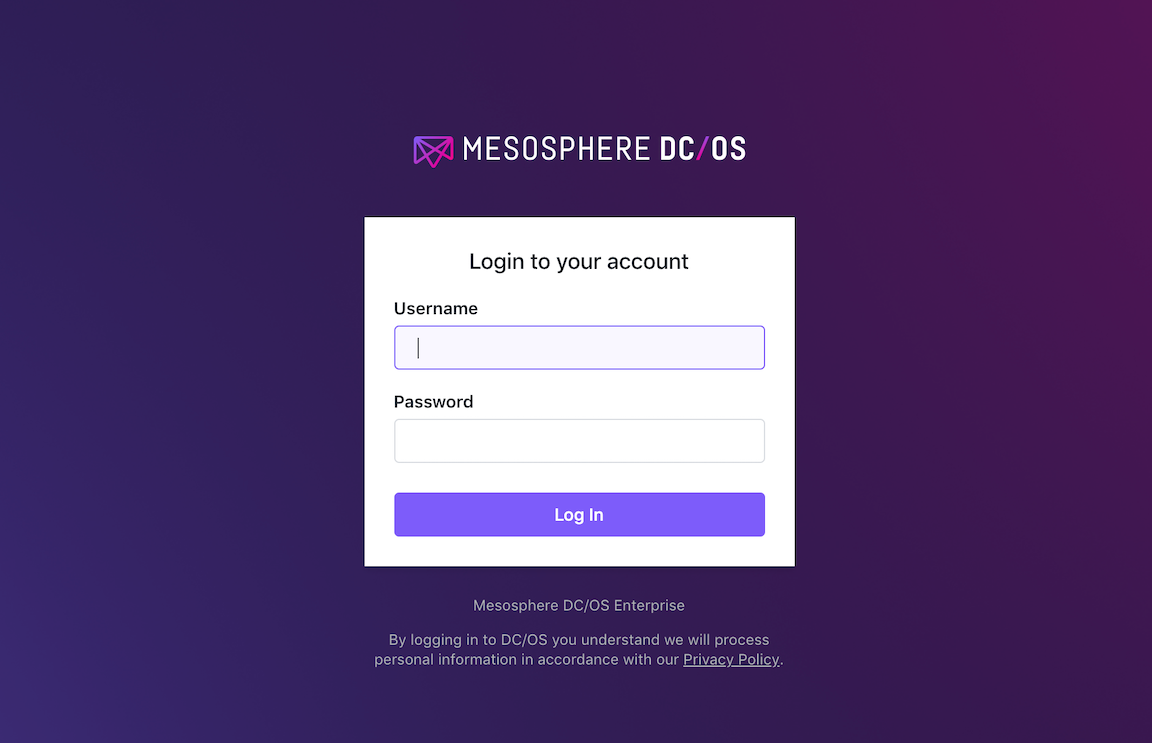
To access the user interface, you will be asked to log in.
If you installed DC/OS Enterprise, you can login with default demo credentials. Enterprise
username: bootstrapuserpassword: deleteme
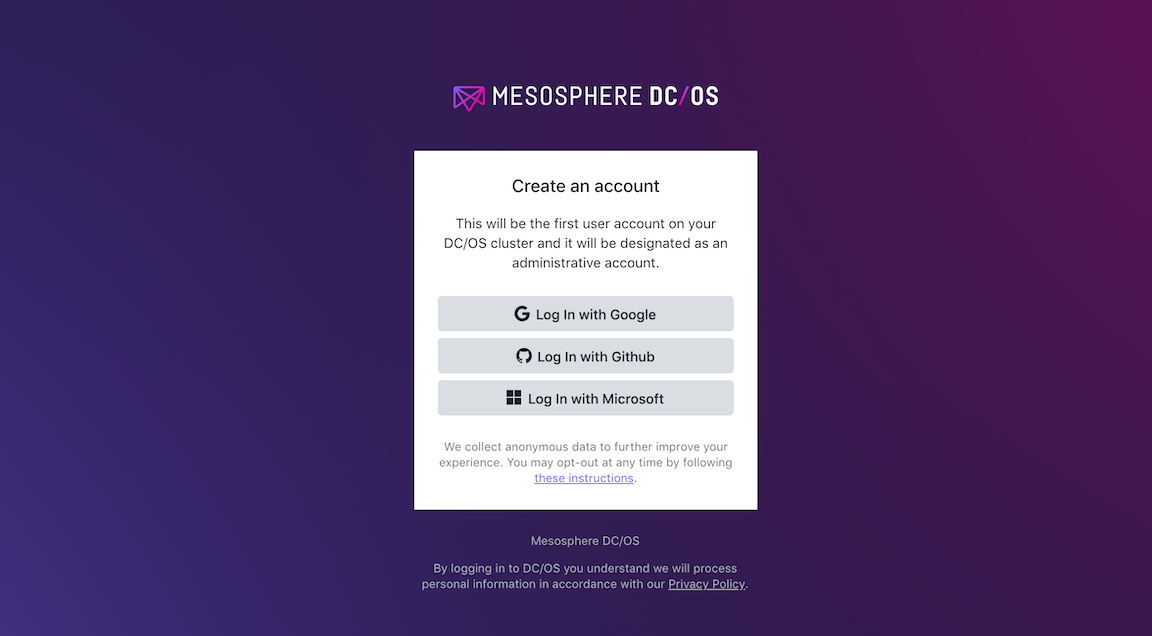
If you installed DC/OS Open Source, select the OAuth provider of your choice. Open Source
Upgrading and managing your cluster
Upgrading your cluster to a newer version of DC/OS and making configuration changes is incredibly easy with Ansible. The modules have been designed to automatically detect the state of your cluster and nodes, and automatically get them to the newer declared state. It is even possible to change your agents configuration and upgrade DC/OS at the same time.
-
For example, to upgrade: in the variables file (
group_vars/all/dcos.yml), set the following values underdcosaccording to your variant:Enterprise
# ...
download: “http://downloads.mesosphere.com/dcos-enterprise/stable/1.13.0/dcos_generate_config.ee.sh”`
# ...
Open Source
# ... download: “https://downloads.dcos.io/dcos/stable/1.13.0/dcos_generate_config.sh” version: “1.13.0" enterprise_dcos: false # ... -
To add extra agents: First get them spun up and available. Then, open the
inventoryfile. List each of your corresponding node IPs, as mentioned in the prerequisites, under the desired groups for[agents_private]and[agents_public]. -
Save all changes and run the playbook again to update your cluster. The ansible modules will automatically calculate the changes and execute them in order.
ansible-playbook dcos.yml