
 DC/OS Documentation
DC/OS can map traffic from a single Virtual IP (VIP) to multiple IP addresses and ports. DC/OS VIPs are name-based, which means clients connect with a service address instead of an IP address.
DC/OS automatically generates name-based VIPs that do not collide with IP VIPs, so you do not have to worry about collisions. This feature allows name-based VIPs to be created automatically when the service is installed.
A named VIP contains these components:
- Private virtual IP address
- Port (a port on which the service is available)
- Service name
You can assign a VIP to your application from the DC/OS GUI. The values you enter when you deploy a new service are translated into these Marathon application definition entries:
portDefininitionsif not using Docker containersportMappingsif using Docker containers
VIPs follow this naming convention:
<service-name>.marathon.l4lb.thisdcos.directory:<port>
Prerequisite
- A pool of VIP addresses that are unique to your application.
Creating a VIP
-
From the DC/OS GUI, choose the Services tab, then RUN A SERVICE.
-
Choose a container configuration from the screen.
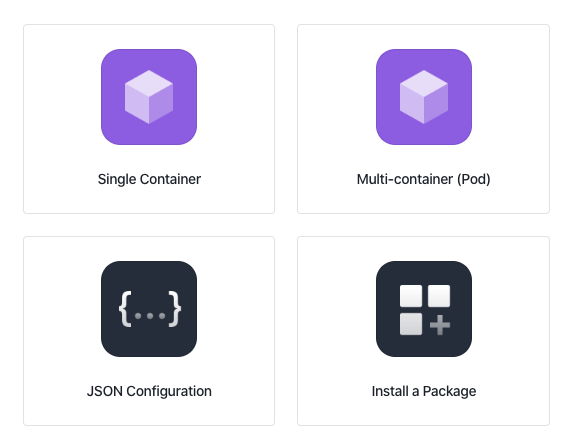
Figure 1 - Container configuration menu
The configuration menu will appear. The configuration menu will appear. The image below shows the screen with the JSON Editor activated; you can turn the editor off with the toggle.
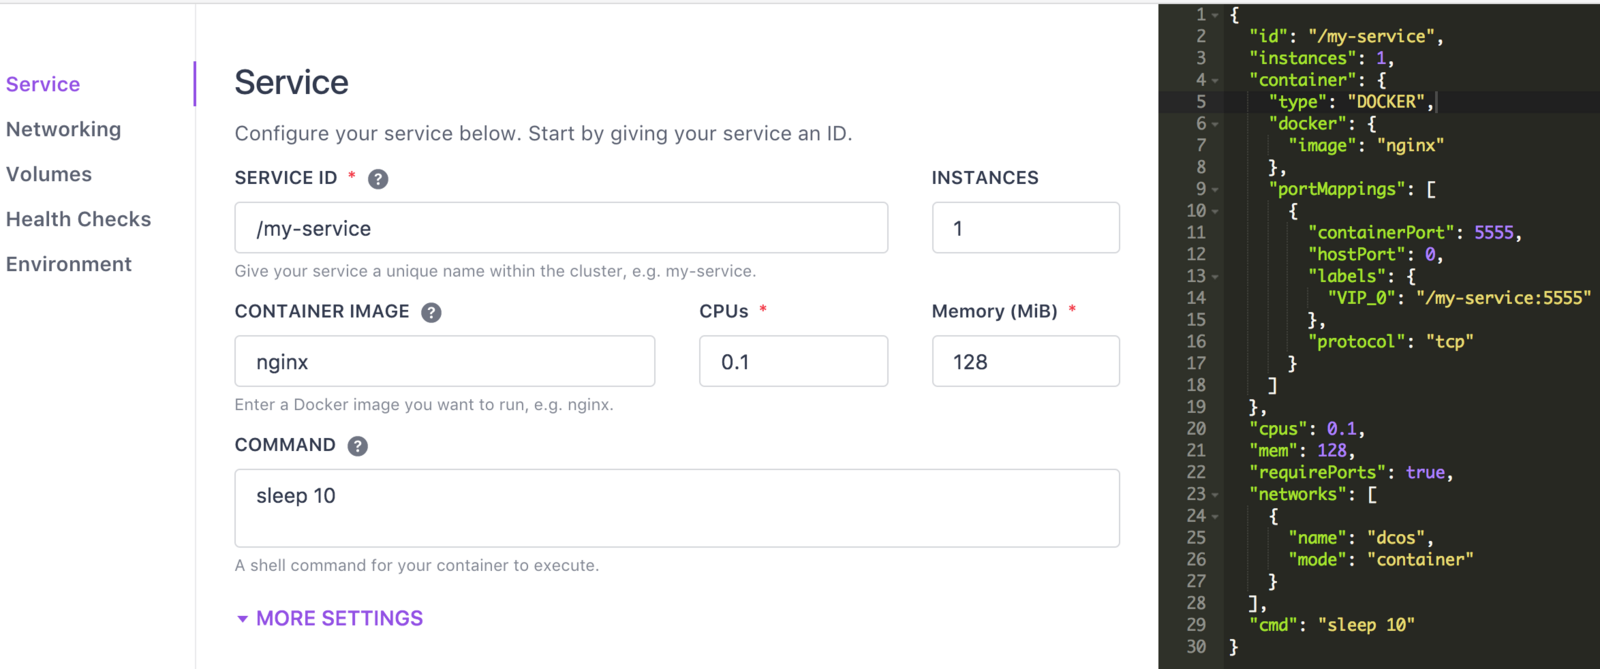
Figure 2 - VIP service definition screen
-
From the Networking tab, select NETWORK TYPE > Virtual Network: dcos.
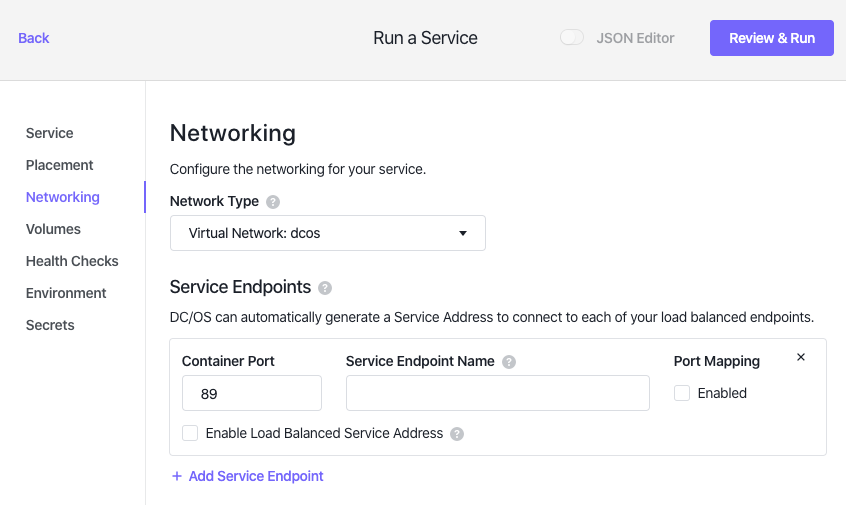
Figure 3 - Networking Configuration screen
-
Under Service Endpoints, expand ADD SERVICE ENDPOINT and provide responses for:
- CONTAINER PORT
- SERVICE ENDPOINT NAME
- PORT MAPPING
- ENABLE LOAD BALANCED SERVICE ADDRESS
As you fill in these fields, the service addresses that Marathon sets up will appear at the bottom of the screen. You can assign multiple VIPs to your app by clicking ADD SERVICE ENDPOINT.
-
Choose REVIEW & RUN and RUN SERVICE.
You can click on the Networking tab to view networking details for your service.
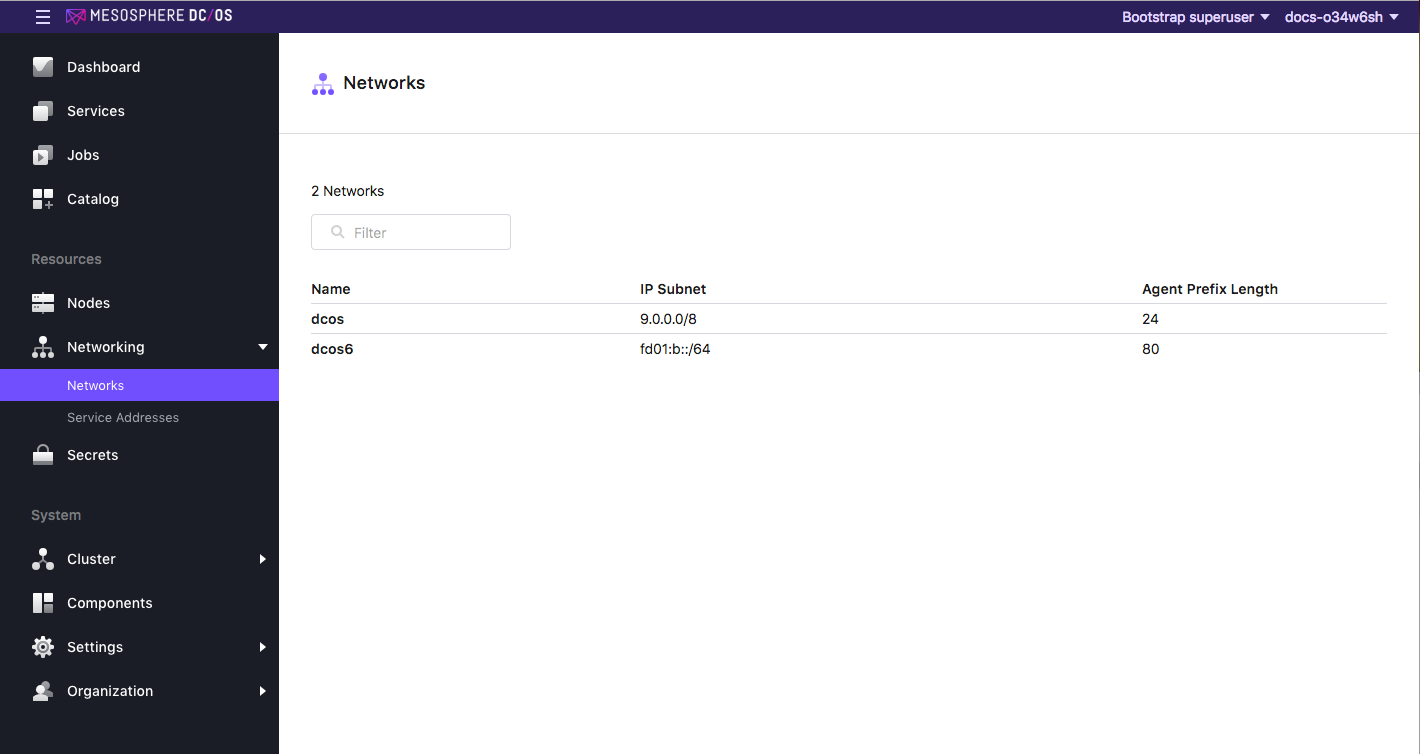
Figure 3 - Networking details
For more information on port configuration, see the Marathon ports documentation.
Using VIPs with DC/OS Services
Some DC/OS services, for example Kafka, automatically create VIPs when you install them. The naming convention is: broker.<service.name>.l4lb.thisdcos.directory:9092.
Follow these steps to view the VIP for Kafka.
Via the GUI
-
Click Networking > Networks and select dcos.
-
Select your task to view details.
Figure 5 - VIP service details
Via the CLI
Prerequisite: The Kafka service and CLI must be installed.
-
Run this command:
dcos kafka endpoints brokerThe output should resemble:
{
  "address": [
    "10.0.2.199:9918"
  ],
  "zookeeper": "master.mesos:2181/dcos-service-kafka",
  "dns": [
    "broker-0.kafka.mesos:9918"
  ],
  "vip": "broker.kafka.l4lb.thisdcos.directory:9092"
}
You can use this VIP to address any one of the Kafka brokers in the cluster.
FAQs
Connections seem to close at random times
This behavior is often experienced with applications that have long lived connections, such as databases (for example, PostgreSQL). To fix, try turning on keepalives. The keepalive can be an application specific mechanism like a heartbeat, or something in the protocol like a TCP keepalive. A keepalive is required because a load balancer cannot differentiate between idle or dead connections as no packets are sent in either case. The default timeout depends on the kernel configuration, but is usually 5 minutes.