
 DC/OS Documentation
This tutorial demonstrates the basic steps for creating a small DC/OS cluster using the most common default configuration options and verifying access to the cluster. You must successfully complete the steps in this tutorial before you can perform any other administrative tasks or explore additional features.
After completing this tutorial, you will have a single DC/OS cluster consisting of:
- One master node.
- Two private agent nodes.
- One public agent node.
The tutorial takes approximately 20 minutes to complete.
If you need additional information about hardware or software system requirements or help performing any step, see the setup instructions.
Before you begin
To get started with this tutorial:
-
You must have access to a physical computer or virtual machine image with a supported operating system.
-
You must have an account with administrative privileges for the local operating system or the cloud provider instance where you plan to install DC/OS.
-
You must have a supported version of Docker installed.
Before starting the tutorial, you should also verify that you have the following skills and information required to complete tutorial tasks.
Knowledge
-
Basic understanding of cluster-related concepts, software containers, distributed workload processing, and application deployment.
-
General familiarity with Linux system administration and how to use common command-line programs for working with files and directories, such as
ls,mkdir, andrmcommands.You should also know how to display usage information and command-specific
manpages.
Skills
-
Basic text-editing skills and experience working with configuration files, JSON-formatted files, and text editors such as
vimornano. -
Experience using a terminal shell and secure shell (SSH) connections to access remote servers and workstations.
You must be able to start SSH sessions using a client application such as iTerm, Konsole, gnome-terminal, or PuTTY.
Learning objectives
For simplicity, this tutorial guides you through creating a cluster with a single master node. To run production workloads, however, you should have multiple master nodes.
By completing this tutorial, you will learn:
- How to download the installation package and create a bootstrap node for distributing installation files.
- How to distribute the installation package and designate a computer as a master node.
- How to distribute the installation package and configure private and public agent nodes.
- How to open the DC/OS web-based administrative console and use it to view basic information about your cluster in a web browser.
- How to install the DC/OS command-line interface and use it to explore your cluster.
Preview of what you’ll do
You need to perform the following key tasks to create a new DC/OS cluster:
- Prepare a bootstrap node.
- Configure a DC/OS master node.
- Configure DC/OS private agent nodes.
- Configure a DC/OS public agent node.
Prepare a bootstrap node
-
Identify a computer to act as the bootstrap node for the new cluster.
The bootstrap node computer provides a centralized location for configuring and distributing files for the DC/OS cluster. The bootstrap node:
- Must be able to connect over the network to all cluster nodes using SSH.
- Can be backed up and shut down after installation is complete.
- Should not be included in the DC/OS cluster.
-
Log on to the bootstrap node using administrative credentials.
-
Check whether the Docker system process (
dockerd) is available by running a command similar to the following:docker infoThis command returns an error if the Docker daemon process is not available.
-
Download DC/OS Open Source or DC/OS Enterprise artifacts to the bootstrap node.
-
Extract the contents from the file you downloaded by running a command similar to the following:
/bin/sh dcos_generate_config.ee.sh -
Change to the DC/OS configuration directory and verify you have the
config.yamlfile:cd genconf && ls -alInitially, the
config.yamlfile only contains a few lines that you can use as a skeleton for setting DC/OS configuration options.
Prepare the cluster configuration files
-
Open the
config.yamlfile in a text editor to customize the settings for this tutorial.For example, modify the file with settings similar to the following:
bootstrap_url: http://10.0.0.100
cluster_name: 'Mesosphere DC/OS Tutorial'
exhibitor_storage_backend: static
master_discovery: static
master_list:
- 10.0.0.50
resolvers:
- 169.254.169.253
- 127.0.0.1
security: permissive
You can set many more basic and advanced configuration options using the
config.yamlfile. For information about the settings available and examples of the most commonly-used settings, see the advanced configuration reference and examples. -
Save your configuration settings.
-
Add required scripts or files to the
genconfdirectory.In addition to the
config.yamlfile, you should provide the following files in thegenconfdirectory:- ip-detect - This script is required for all DC/OS clusters.
- license.txt - This file is required for DC/OS Enterprise clusters.
- fault-domain-detect - This script is required for DC/OS Enterprise clusters.
Create the distribution center
-
Run the DC/OS installation script to generate the customized build files for your cluster in the
./genconf/serve/directory.sudo bash dcos_generate_config.ee.sh -
Prepare a web server NGINX Docker container to share the customized build files for distribution by running the following command on the bootstrap node:
sudo docker run -d -p 80:80 -v $PWD/genconf/serve:/usr/share/nginx/html:ro nginx
Create the master node
-
Open a terminal shell on the bootstrap node, then start a secure shell (SSH) session to connect to the master node.
ssh <master-ip> -
Create a new directory for the DC/OS master node files and navigate to it.
mkdir /tmp/dcos && cd /tmp/dcos -
Download the DC/OS installation script from the NGINX Docker container, replacing
bootstrap-ipandportwith the settings you specified for thebootstrap_urlin theconfig.yamlfile:curl -O http://<bootstrap-ip>:<your_port>/dcos_install.sh -
Run the following command to install DC/OS on the master node.
sudo bash dcos_install.sh master
In a production environment, you would repeat these steps to create two or four additional master nodes.
Configure private agent nodes
-
Open a terminal shell on the bootstrap node, then start a secure shell (SSH) session to connect to the first private agent node.
ssh <agent-ip> -
Create a new directory for the DC/OS agent files and navigate to it.
mkdir /tmp/dcos && cd /tmp/dcos -
Download the DC/OS installation script from the NGINX Docker container, replacing
bootstrap-ipandportwith the settings you specified for thebootstrap_urlin theconfig.yamlfile:curl -O http://<bootstrap-ip>:<your_port>/dcos_install.sh -
Run the following command to install DC/OS and designate this node as a private agent node.
sudo bash dcos_install.sh slave -
Repeat these steps to create a second private agent node.
In a production environment, you would automate these steps to create as many private agent nodes as you need.
Configure the public agent node
-
Open a terminal shell on the bootstrap node, then start a secure shell (SSH) session to connect to the public agent node.
ssh <agent-ip> -
Create a new directory for the DC/OS agent files and navigate to it.
mkdir /tmp/dcos && cd /tmp/dcos -
Download the DC/OS installation script from the NGINX Docker container, replacing
bootstrap-ipandportwith the settings you specified for thebootstrap_urlin theconfig.yamlfile:curl -O http://<bootstrap-ip>:<your_port>/dcos_install.sh -
Run the following command to install DC/OS and designate this node as a public agent node.
sudo bash dcos_install.sh slave_public
Verify your cluster is ready to use
-
Open a web browser and navigate to the master node IP address to access the DC/OS web-based administrative console.
For example, if the master node IP address is 192.168.47.1, enter http://192.168.47.1 as the URL in the browser address bar.
-
Type your administrative user name and password, then click Log in.
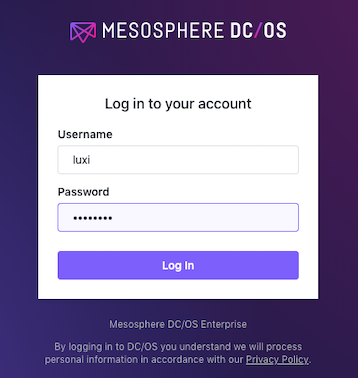
If the connection is successful, the DC/OS dashboard is displayed.
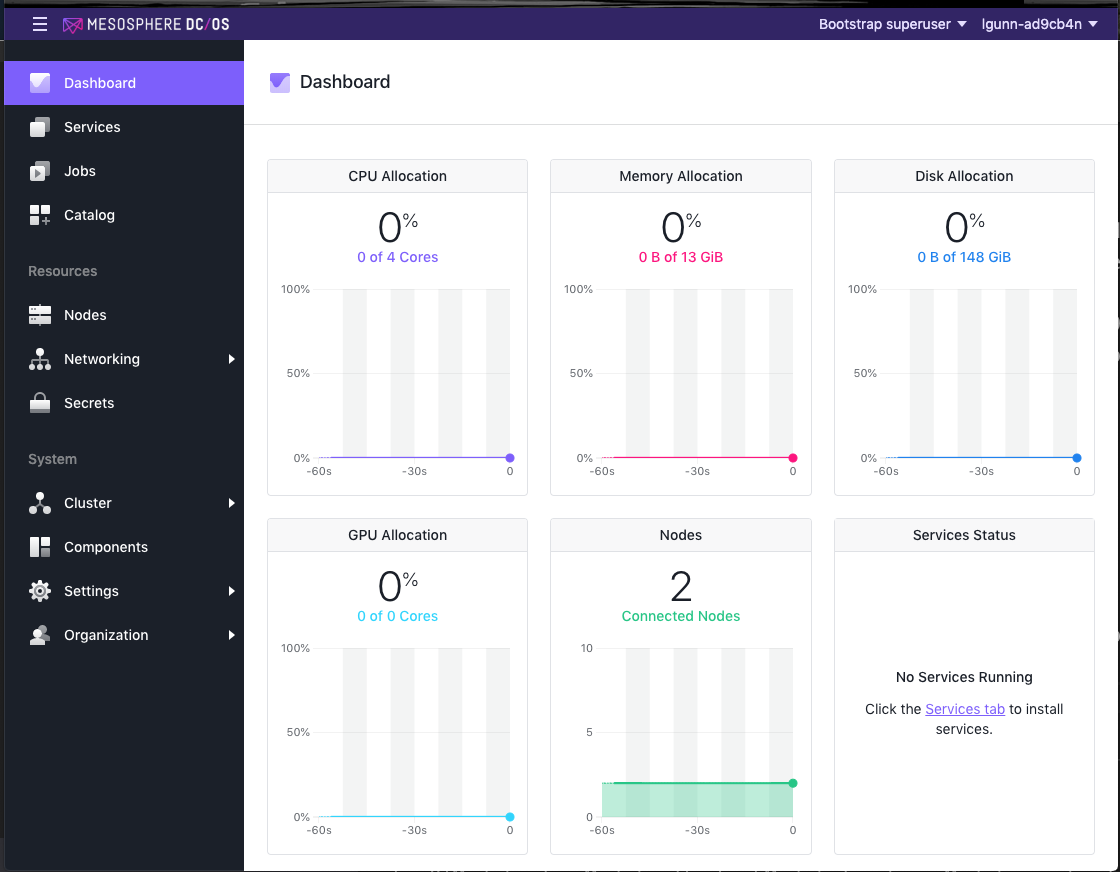
Congratulations! You have successfully created your first DC/OS cluster. You can now start exploring what you can do using this cluster in subsequent tutorials.
Next steps
Now that you have a small cluster running, you can install the DC/OS command-line interface (CLI) and start exploring administrative and operational tasks.
- Install the command-line interface
- Install your first service from the package repository
- Deploy your first sample application
Related topics
This tutorial focused on preparing and installing the DC/OS cluster interactively using a simple configuration file and a few manually entered commands.
More about your installation options
There are several other methods you can use to install the DC/OS cluster. For example, there are other installation options if you are installing DC/OS on a public cloud from a public cloud provider such as AWS, Azure, or the Google Cloud Platform. For information about other installation options, see the following topics:
- DC/OS on AWS using the Universal Installer
- DC/OS on Azure using the Universal Installer
- DC/OS on GCP using the Universal Installer
- Other Installation methods
More about cluster architecture and components
For an overview of the DC/OS platform and the components that make up the architectural layers of the platform, see the Architectural overview.
If you want to know more about the DC/OS architecture and key components, see the following topics: