
 DC/OS Documentation
These examples provide common usage scenarios for jobs.
Prerequisite:
Creating a Simple Job
This JSON file creates a simple job with no schedule.
-
Create a JSON file with the following contents.
{ "id": "my-job", "description": "A job that sleeps", "run": { "cmd": "sleep 1000", "cpus": 0.01, "mem": 32, "disk": 0 } } -
Add the job from the DC/OS CLI.
dcos job add <my-job>.jsonAlternatively, add the job using the API.
curl -X POST -H "Content-Type: application/json" -H "Authorization: token=$(dcos config show core.dcos_acs_token)" $(dcos config show core.dcos_url)/service/metronome/v1/jobs -d@/Users/<your-username>/<myjob>.json
Creating a Job with a Schedule
-
Create a JSON file with the following contents.
{ "id": "my-scheduled-job", "description": "A job that sleeps on a schedule", "run": { "cmd": "sleep 20000", "cpus": 0.01, "mem": 32, "disk": 0 }, "schedules": [ { "id": "sleep-nightly", "enabled": true, "cron": "20 0 * * *", "concurrencyPolicy": "ALLOW" } ] } -
Add the job.
dcos job add <my-scheduled-job>.json
Creating a Job and Associating a Schedule using the API
-
Add a job without a schedule using the instructions above.
-
Create a JSON file with the following contents. This is the schedule for your job.
{ "concurrencyPolicy": "ALLOW", "cron": "20 0 * * *", "enabled": true, "id": "nightly", "nextRunAt": "2016-07-26T00:20:00.000+0000", "startingDeadlineSeconds": 900, "timezone": "UTC" } -
Add the schedule and associate it with the job.
Via the DC/OS CLI:
dcos job schedule add <job-id> <schedule-file>.jsonVia the API:
curl -X POST -H "Content-Type: application/json" -H "Authorization: token=$(dcos config show core.dcos_acs_token)" $(dcos config show core.dcos_url)/service/metronome/v1/jobs/<job-id>/schedules -d@/Users/<your-username>/<schedule-file>.json
You can associate a schedule with more than one job.
Creating a Partitioned Jobs Environment
In this example, a partitioned jobs environment is created with the DC/OS UI. This allows you to restrict user access per job, or per job group. The jobs are created in a jobs group named batch, which is a child of a jobs group named dev.
├── dev
    ├── batch
        ├── job1
        ├── job2
The jobs groups are then assigned permissions to users Cory and Alice to restrict access.
Prerequisites:
- You must be logged in as a
superuser.
-
Log into the DC/OS UI as a user with the
superuserpermission.
Figure 1. DC/OS Enterprise login
-
Create the partitioned jobs.
-
Select Jobs and click CREATE A JOB.
-
In the ID field, type
dev.batch.job1. -
In the Command field, type
sleep 1000(or another valid shell command) and click CREATE A JOB.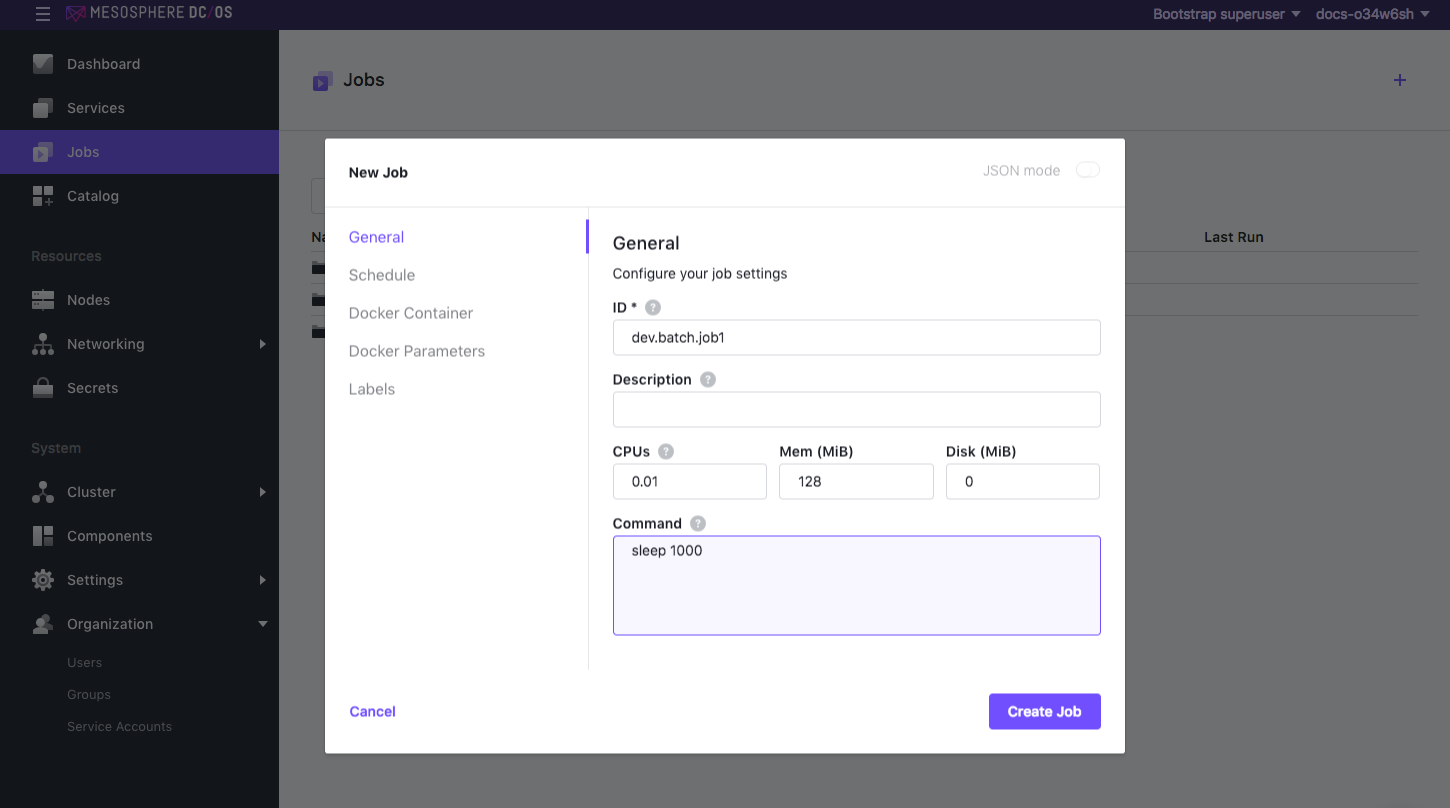
Figure 2. New job screen
This creates a job in this directory structure in DC/OS: Jobs > dev > batch > job1.
-
Click the + icon in the top right corner to create another job.
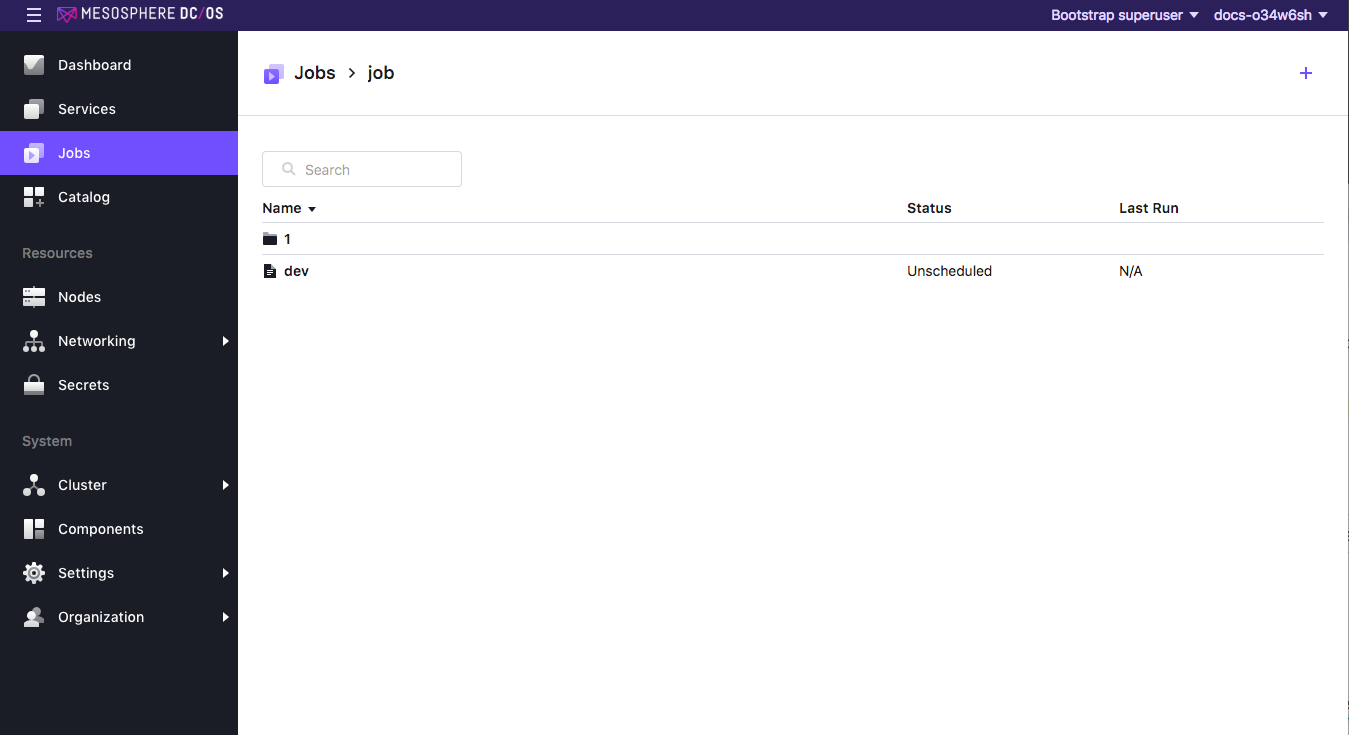
Figure 3. Create another job
-
In the ID field, type
dev.batch.job2. -
In the Command field, type
sleep 1000(or another valid shell command) and click CREATE A JOB. You should have two jobs: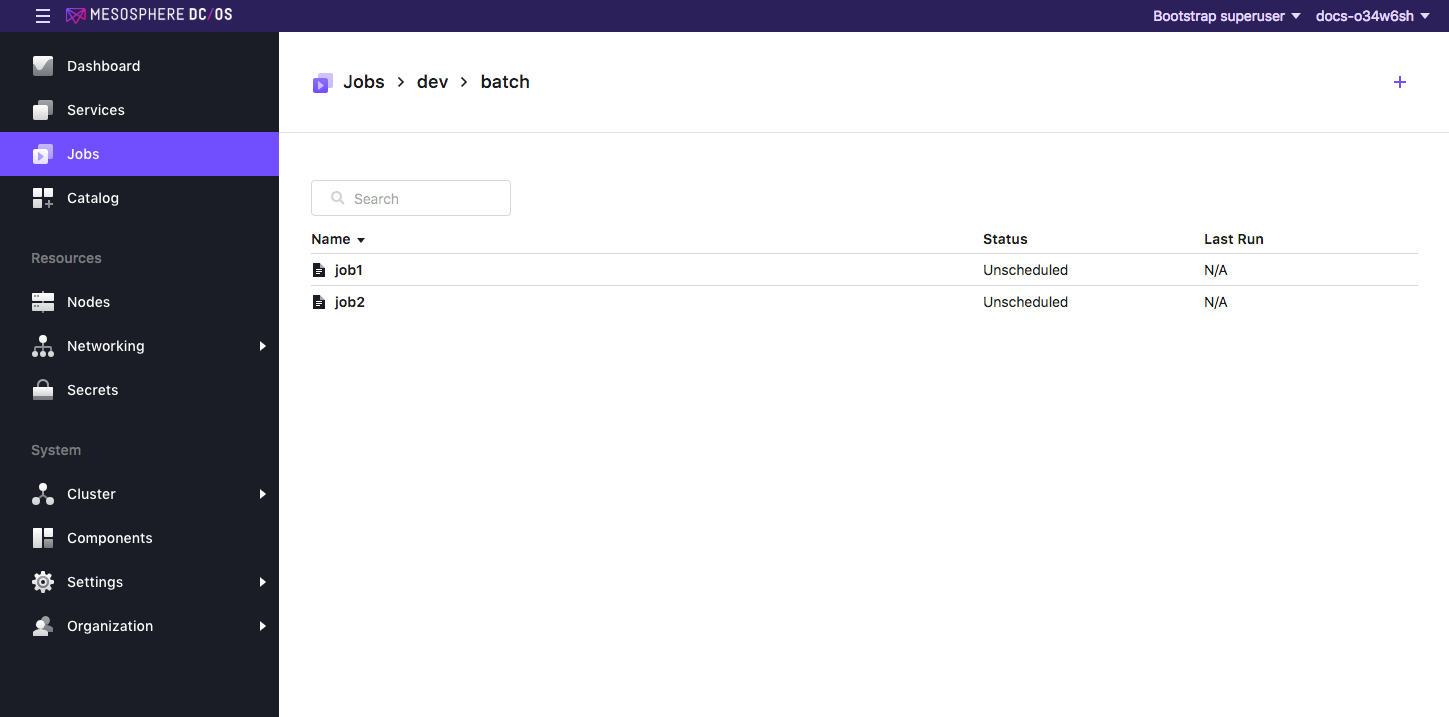
Figure 4. Jobs > dev > batch screen
-
-
Run the jobs.
-
Click Jobs > dev > batch > job1 and click Run Now.
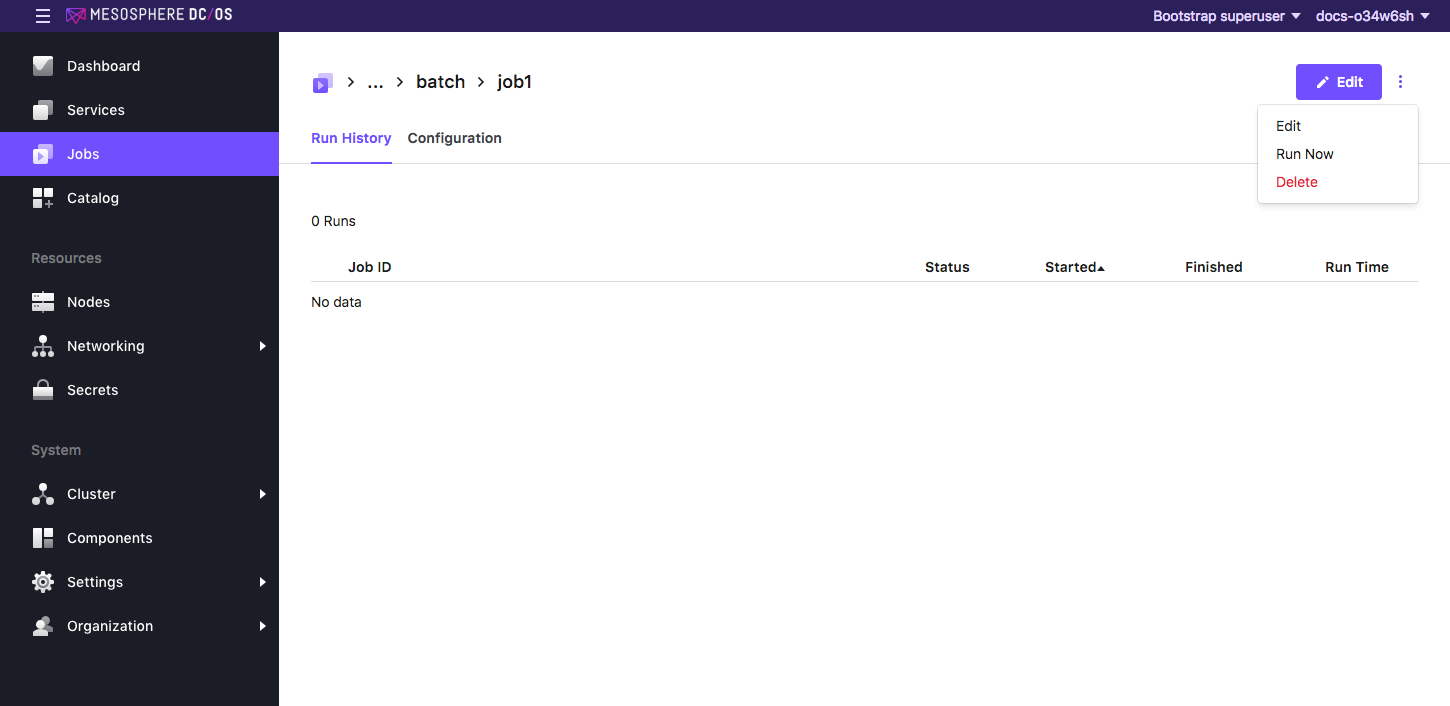
Figure 5. Run now menu
-
Click Jobs > dev > batch > job2 and click Run Now.
-
-
Assign permissions to the jobs.
-
Select Organization > Users and create new users named
CoryandAlice.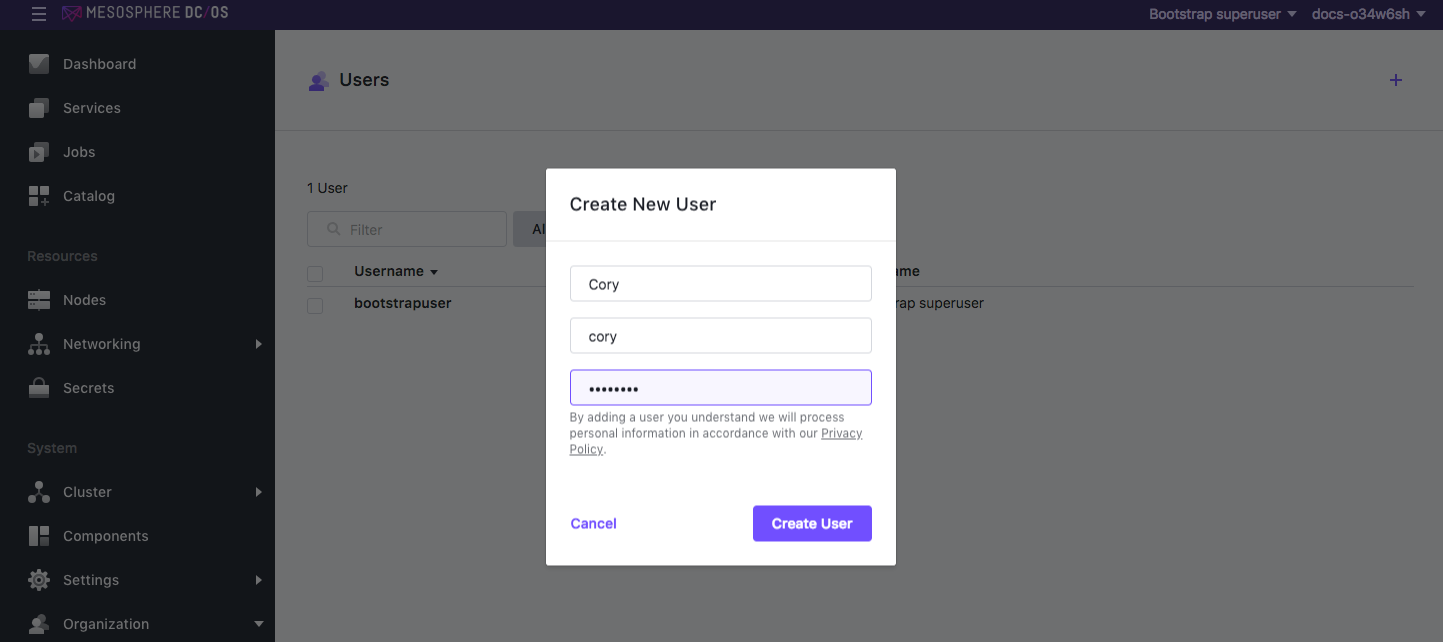
Figure 6. Create a new user
-
Select the user Cory and grant access to
job1. -
From the Permissions tab, click ADD PERMISSION and toggle the INSERT PERMISSION STRING button to manually enter the permissions.
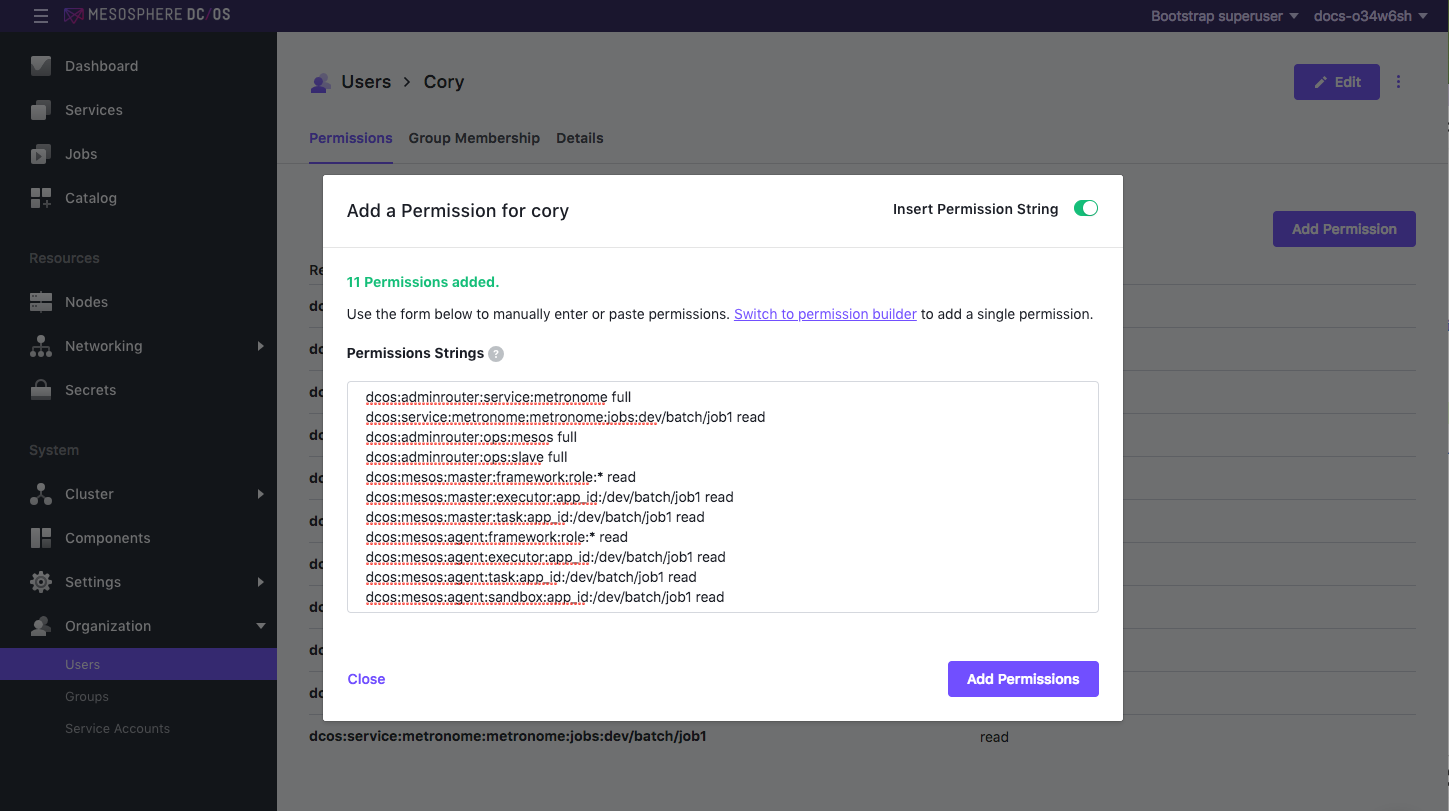
Figure 7. Add permissions for user ‘Cory’
-
Copy and paste the permissions in the Permissions Strings field. Specify your job group (
dev/batch), job name (job1), and action (read). Actions can be eithercreate,read,update,delete, orfull. To permit more than one operation, use a comma to separate them, for example:dcos:service:metronome:metronome:jobs:/dev.batch.job1 read,update.dcos:adminrouter:service:metronome full dcos:service:metronome:metronome:jobs:dev.batch.job1 read dcos:adminrouter:ops:mesos full dcos:adminrouter:ops:slave full dcos:mesos:master:framework:role:* read dcos:mesos:master:executor:app_id:/dev/batch/job1 read dcos:mesos:master:task:app_id:/dev/batch/job1 read dcos:mesos:agent:framework:role:* read dcos:mesos:agent:executor:app_id:/dev/batch/job1 read dcos:mesos:agent:task:app_id:/dev/batch/job1 read dcos:mesos:agent:sandbox:app_id:/dev/batch/job1 read -
Click ADD PERMISSIONS and then Close.
-
Repeat these steps for user Alice, replacing
job1withjob2in the permissions.
-
-
Log out and log back in as your new user to verify the permissions. The user should now have the designated level of access to
dev/batch/job1anddev/batch/job2inside the Jobs tab. For example, if you log in as Alice, you should only see jobs2: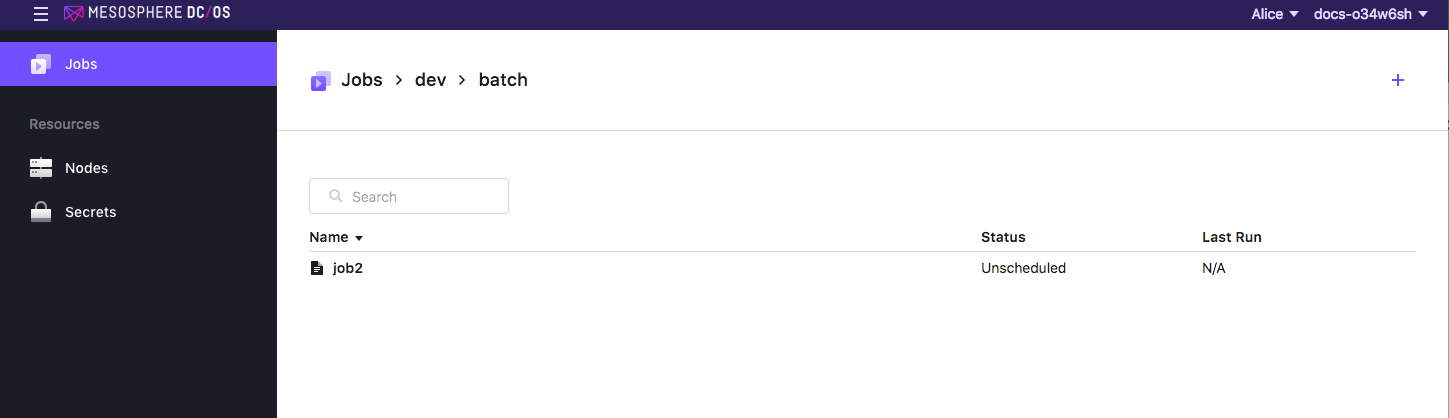
Figure 8. Restricted view for ‘Alice’