
 Kommander Documentation
Prerequisites
You must have a cluster.yaml file and an inventory.yaml file for the cluster you are going to launch.
Inventory file
Inventory file is an Ansible inventory file.
Example:
control-plane:
  hosts:
    10.0.0.1:
      ansible_host: 10.0.0.1
      node_pool: control-plane
    10.0.0.2:
      ansible_host: 10.0.0.2
      node_pool: control-plane
    10.0.0.3:
      ansible_host: 10.0.0.3
      node_pool: control-plane

node:
  hosts:
    10.0.0.4:
      ansible_host: 10.0.0.4
      node_pool: worker
    10.0.0.5:
      ansible_host: 10.0.0.5
      node_pool: worker
    10.0.0.6:
      ansible_host: 10.0.0.6
      node_pool: worker
    10.0.0.7:
      ansible_host: 10.0.0.7
      node_pool: worker
bastion: {}
all:
  vars:
    order: sorted
    control_plane_endpoint: ""
    ansible_user: "<username>"
    ansible_port: 22
    version: v1beta1
On Premise Provider
Once you have both cluster.yaml file and inventory.yaml file, you must add a provisioner for your provider. Follow these steps:
Make sure you have selected a workspace - for example the “Default Workspace.”
-
Go to Administration / Infrastructure Providers.
-
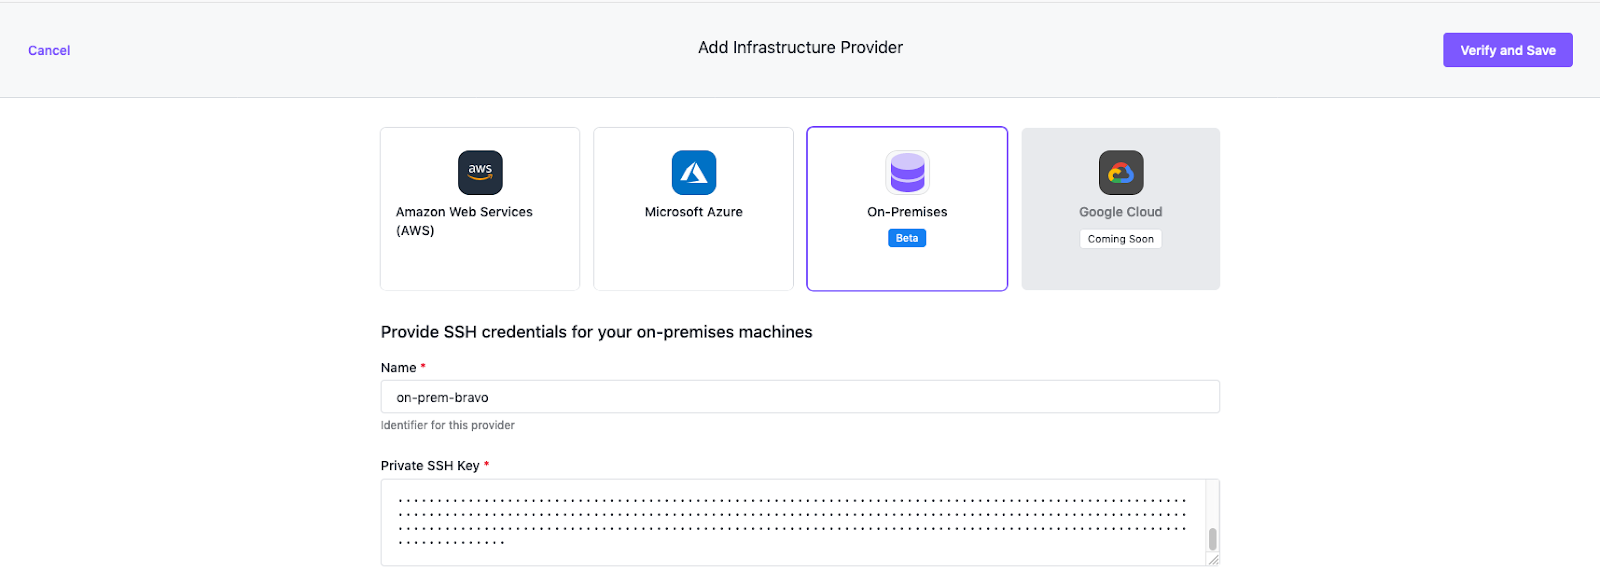
Select the Add Infrastructure Provider button.
-
Select On Premise.
-
Enter a name for your provider and insert the full contents of your private ssh key, then select Verify and Save.
Launching the cluster
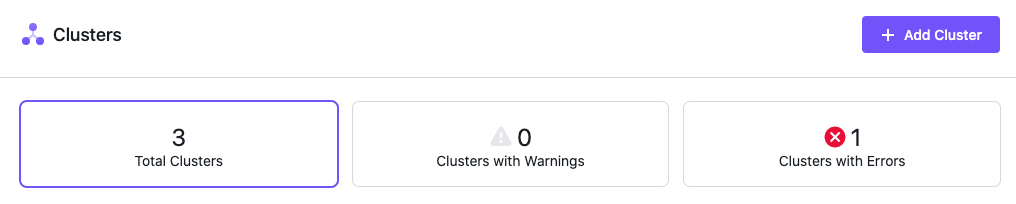
You can now launch your cluster.
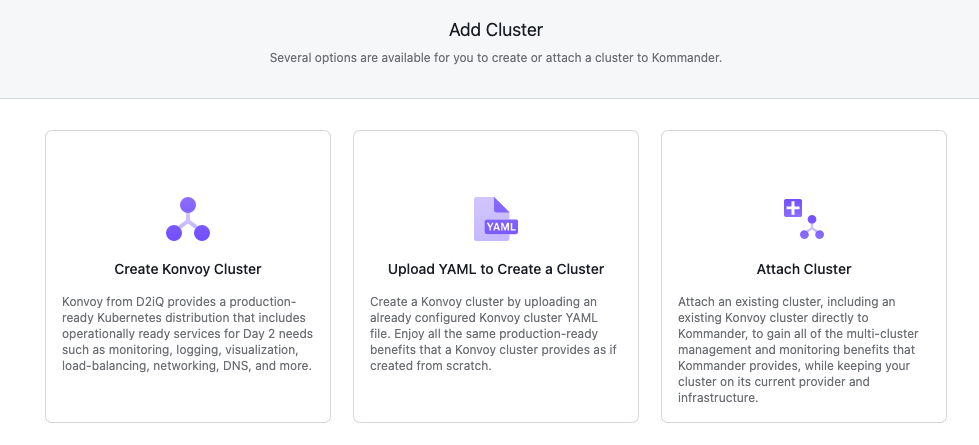
Go to the Clusters section and select Add Cluster.
Select Upload YAML to create a cluster.
Fill out the form
-
Enter a unique name for your cluster.
-
At the top of the
cluster.yamltext field, enter the following information:
kind: ClusterProvisioner
apiVersion: Konvoy.mesosphere.io/v1beta1
metadata:
  name: Konvoy-on-prem
spec:
  sshCredentials:
    user: "<username>"
  provider: none
---
- Ensure the Kommander addon is disabled with
enabled: false.
spec:
  addons:
    addonsList:
    - name: kommander
      enabled: false
-
Select your On Premise Provider created in the previous step.
-
Paste the contents of your
inventory.yamlfile into the inventory field. -
Select Continue.
At this point Provisioning of your cluster should start. You can track the deployment progress with Kibana or kubectlas you normally would in Kommander.