
 Kommander Documentation
Prerequisites
- A configured On-Prem Infrastructure Provider
- Konvoy CLI
Inventory Your Hosts
You need an Ansible inventory file to describe the hosts where you want to install Konvoy. You can use Konvoy to generate the skeleton of your inventory and cluster definitions:
konvoy init --provisioner=none [--cluster-name <your-specified-name>]
Cluster Configuration
After editing the inventory file, edit the generated cluster.yaml file. The cluster.yaml file provides the configuration details for creating your Konvoy cluster.
See the Install on-premises guide in the Konvoy documentation for more details.
Provision in UI
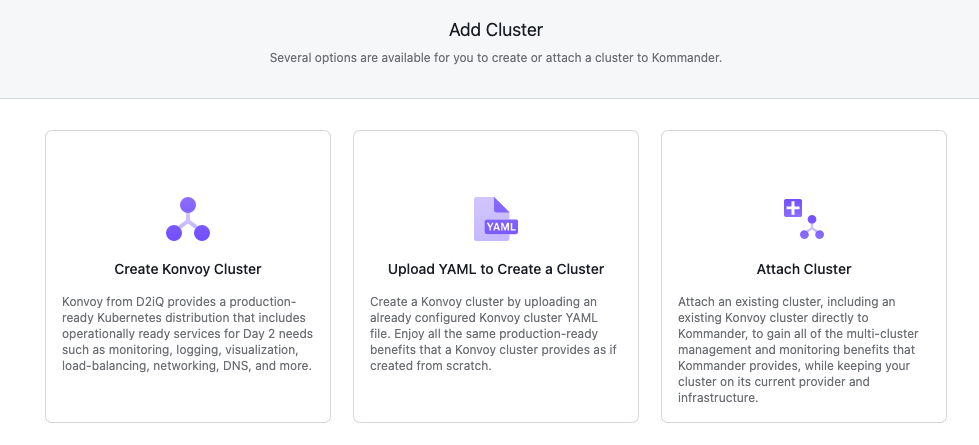
In the Kommander UI, choose the workspace where the on premises infrastructure provider was created in the header drop-down. From the workspace dashboard, select Actions > Add Cluster, and from the Add Cluster menu, select the Upload YAML to Create a Cluster option. Select your on premises infrastructure provider from the Select Infrastructure Provider select field.
Paste the contents of the cluster.yaml and inventory.yaml files into the form and select Continue to begin provisioning Konvoy onto your hosts.
By default, your cluster has some labels that reflect the infrastructure provider provisioning. For example, your on premises cluster may be labelled with the label provider: none. Cluster labels are matched to the selectors created for projects. Changing a cluster label may add or remove the cluster from projects.
Select Continue to begin provisioning the Konvoy cluster.